How to Turn Vacation Videos into Self-Guided Audio Tours
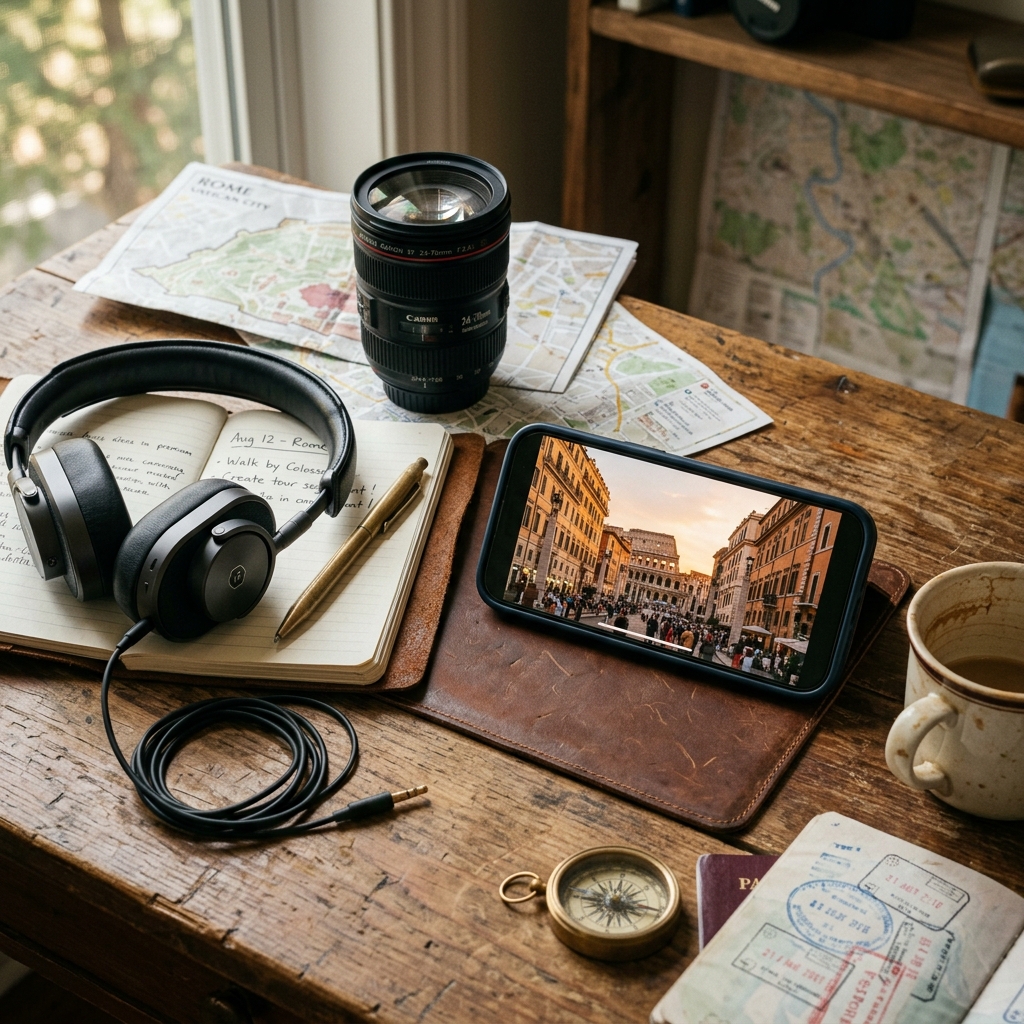
Transforming personal vacation videos into self-guided audio tours requires extracting geotagged locations, organizing key points into a logical walking route, and writing concise, context-rich scripts. By converting passive video archives into interactive audio experiences, creators can publish location-aware travel guides without re-shooting content.
The Value of Repurposing Video Archives into Audio Experiences
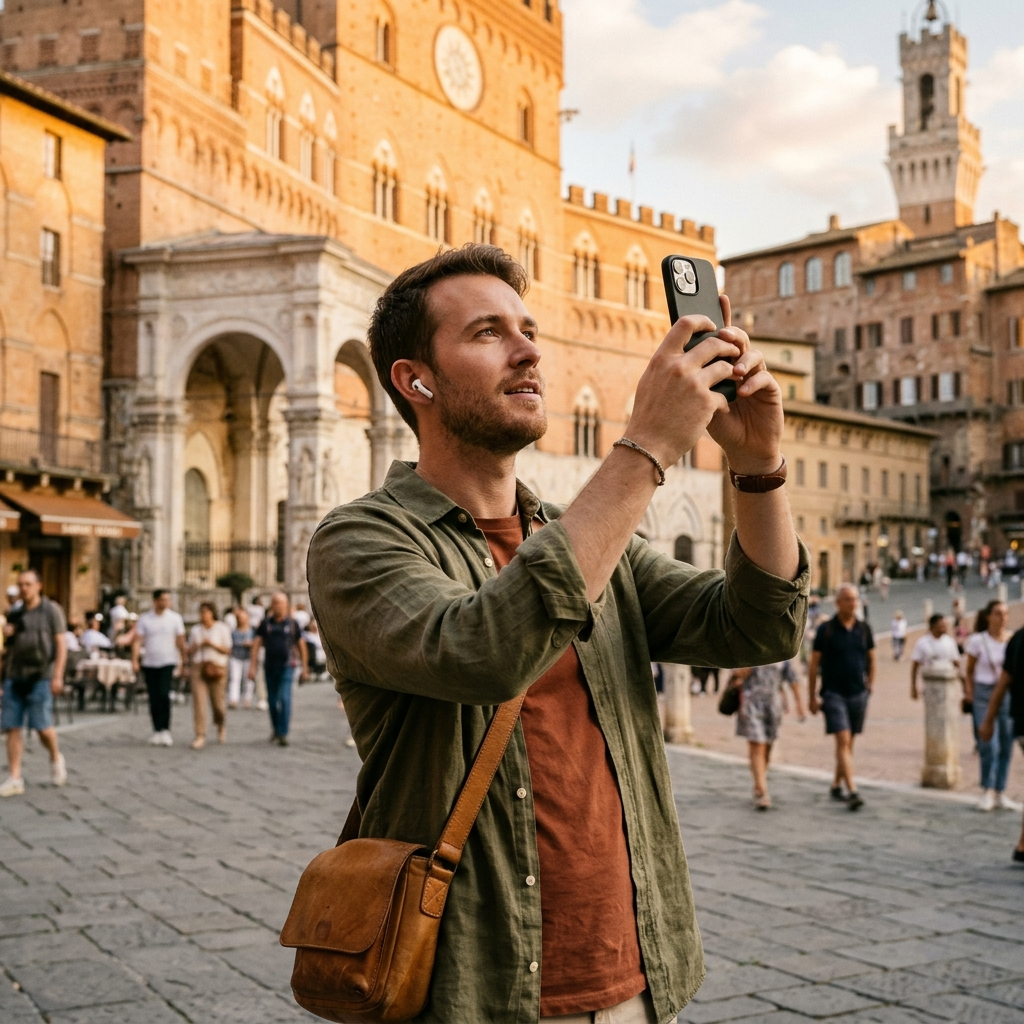
Unstructured travel footage often remains unused in cloud storage after social media posting. Reformatting this visual content into location-based audio products extends media longevity and serves travelers who prefer hands-free navigation over watching screens while exploring.
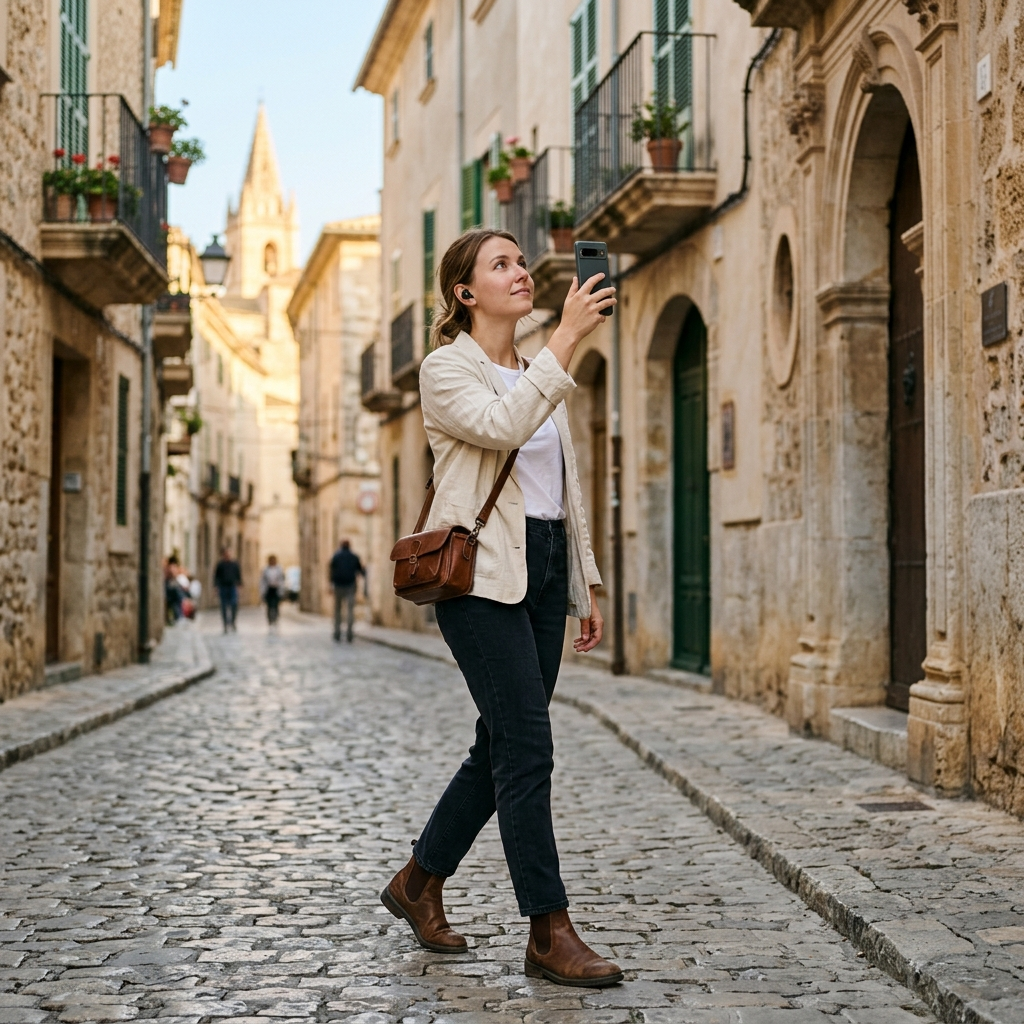
Audio guidance eliminates the need to monitor maps or scrub through video timelines on a mobile device while navigating a destination. Converting video clips into structured narrative tracks gives raw footage a clear functional purpose.
Key Takeaway: Transitioning from video to audio unlocks archival footage and creates screen-free experiences for active travelers.
Phase 1: Auditing and Cataloging Video Footage
Begin by consolidating raw video assets into a central catalog. Group files by location, visual clarity, and identifiable landmarks rather than recording date.
- Filter by visual markers: Identify clips featuring prominent architecture, signage, historical monuments, or distinct street corners.
- Extract telemetry data: Inspect video file properties to extract embedded GPS coordinates and timestamps.
- Isolate ambient audio: Flag video clips with high-quality background audio, such as street sounds or local music, to use as atmospheric sound beds during narrative edits.
Organizing video assets by geography rather than chronology provides the foundation for precise mapping later in the workflow.
Key Takeaway: Systematic categorization based on landmark visibility and spatial metadata simplifies script mapping.
Phase 2: Identifying Landmarks and Extracting Coordinates
Mapping an audio tour requires identifying precise locations within individual video frames. When GPS telemetry is absent or inaccurate, visual recognition techniques help pinpoint exact coordinates.
Match video frame thumbnails against geographic databases to confirm building names, historical sites, and street intersections. Note specific entry points or vantage points visible in the video footage to ensure listeners pause at the exact position required to view the feature described.
Key Takeaway: Precise geographic mapping ensures audio commentary aligns directly with what the user observes on-site.
Phase 3: Structuring the Route and Writing Narration Scripts
An effective self-guided tour requires a logical walking sequence. Connect identified landmarks into a continuous path that avoids unnecessary backtracking or hazardous crossings.
Drafting Segment Narratives
Keep individual point-of-interest entries concise. Each segment should follow a clear structure:
- Orientation anchor: Direct the listener's gaze to a visible landmark (e.g., "Look at the stone archway to your left").
- Contextual history: Deliver two to three concise facts detailing the site's origin, function, or cultural significance.
- Navigational bridge: Instruct the listener where to walk next before the track concludes.
Aim for narrative scripts between 90 and 150 words per stop, corresponding to roughly 60 to 90 seconds of spoken audio.
Key Takeaway: Clear directional cues paired with brief historical context maintain listener orientation and engagement.
Phase 4: Audio Production and Spatial Synchronization
High production value ensures clarity in noisy outdoor environments. Record narration using a condenser microphone in a quiet space, maintaining a consistent cadence and distance from the microphone.
Layer subtle ambient audio recorded from your original video footage beneath the speech track to add depth. Export final tracks as compressed MP3 or AAC files to ensure fast playback when triggered in location-aware applications.
Key Takeaway: Clean voiceover audio combined with low-level environmental ambience produces an immersive guide experience.
Workflow Checklist for Video-to-Audio Tour Conversion
- Export frame thumbnails of all key locations from raw video clips.
- Verify latitude and longitude coordinates for every stop.
- Plot stopping points in a digital mapping tool to verify total walking distance.
- Draft 60-second narrative scripts containing orientation instructions, historical context, and transit directions.
- Record voiceover audio, apply noise reduction, and export normalized files.
- Upload audio tracks and geographic metadata to your distribution platform.
Conclusion
Converting vacation video archives into self-guided audio tours turns unorganized visual media into structured digital products. By systematically identifying landmarks, mapping efficient walking routes, and authoring clear directional scripts, creators build practical tools for modern travelers. Solutions like AI tour guide simplify this workflow by identifying landmarks directly from video thumbnails and organizing narrative tracks into complete voice-guided tours within a single interface.
Frequently Asked Questions
Metadata such as GPS coordinates, timestamps, and computer vision landmark recognition allows creators to extract locations from video frames and automatically build geotagged audio nodes.
Standard MP4 and MOV files recorded on modern mobile devices retain EXIF location data, provided spatial tagging was enabled during recording.
Individual point-of-interest audio tracks perform best when kept between 45 seconds and two minutes, maintaining listener focus while walking.
Most modern tour platforms allow users to download audio scripts and spatial mapping files locally before beginning their route to bypass cellular connectivity issues.