How to Test If Phone Speaker Hardware Is Permanently Broken
To determine whether a smartphone speaker is permanently broken, isolate the fault by ruling out software issues, clearing acoustic obstructions, and evaluating output across low and high frequencies. If the speaker produces total silence, continuous mechanical scraping, or severe buzzing after you clear trapped moisture and debris, the internal diaphragm or voice coil has likely suffered hardware failure.
The Core Problem: Hardware Failure Versus Obstruction
Smartphone audio issues often appear after an impact or exposure to water. When sound becomes faint, tinny, or distorted, it is common to assume the speaker unit is ruined. However, replacing components before testing can lead to unnecessary repair costs.
Smartphone speakers operate with tight mechanical tolerances. The diaphragm oscillates thousands of times per second to generate sound waves. Audio degradation usually stems from one of three areas: software or routing settings, acoustic pathway blockages, or physical separation of internal parts.
Takeaway: Blocked speaker grilles and software configuration errors often produce symptoms that mimic permanent hardware damage.
Phase 1: Rule Out Software and Signal Routing Errors
Before evaluating physical components, confirm that the operating system is sending audio to the loudspeaker.
- Restart the device: Reboot the phone to reset background audio processes, media controllers, and temporary buffer errors.
- Disconnect external audio devices: Turn off Bluetooth to ensure audio is not routing to an external speaker, car system, or wireless headset.
- Check accessibility balance settings: Open the device settings, navigate to Accessibility audio controls, and confirm the left-right balance slider is centered.
- Turn off third-party audio apps: Disable system equalizers, volume boosters, or custom spatial audio profiles that can distort peak volumes.
If test audio plays clearly through headphones but remains distorted or silent through the phone speaker, the operating system is processing audio correctly. The issue lies downstream in the speaker enclosure or the transducer itself.
Takeaway: Clear headphone output confirms the audio decoder and operating system are working, narrowing the issue to the physical speaker assembly.
Phase 2: Differentiating Dirt and Water from Physical Damage
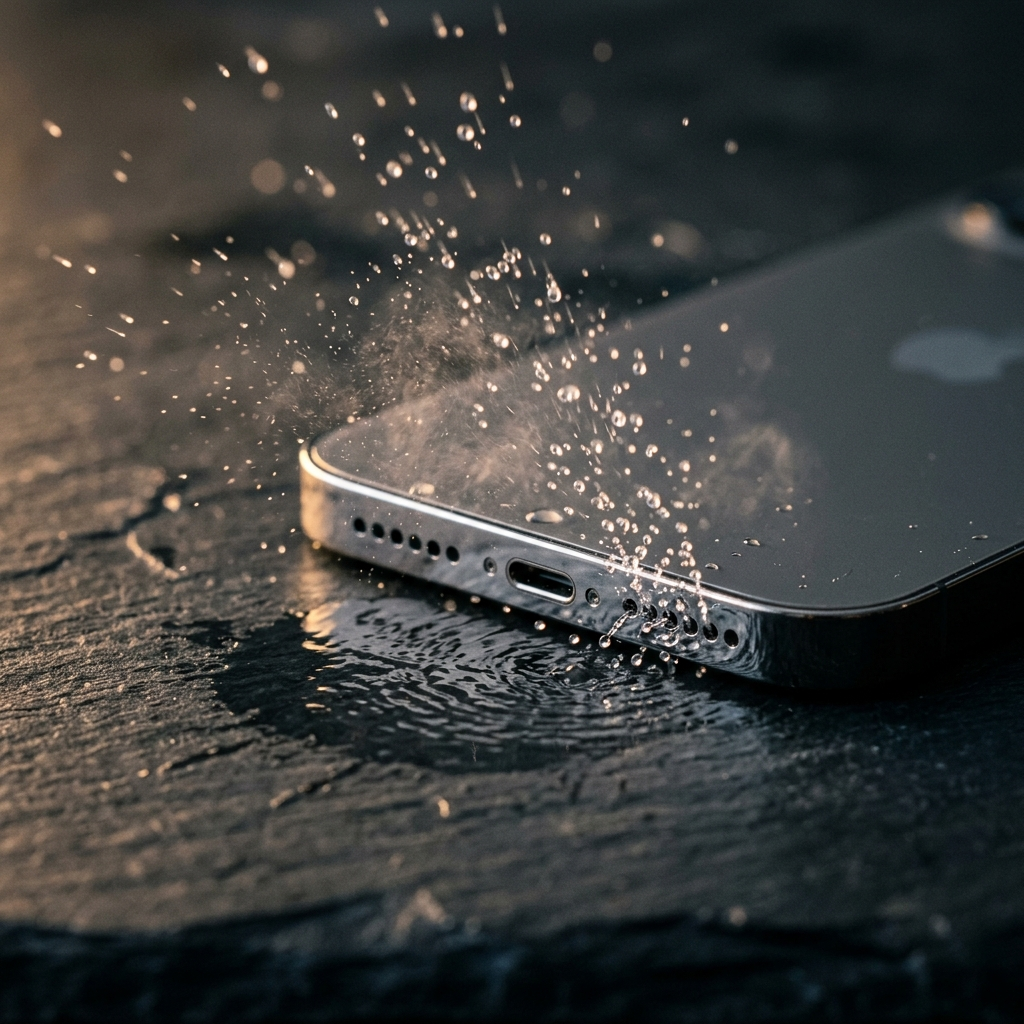
Smartphone speakers emit sound through small, perforated grilles that readily trap lint, dust, and oils. Additionally, surface tension can hold water droplets across the fine mesh, forming a barrier that restricts diaphragm movement.
Solid debris primarily dampens high frequencies, causing speech and treble tones to sound muffled. Water adds mass across the exterior surface of the membrane, creating overall volume reduction and dull playback.
Neither condition means the speaker is broken. Trapped water should be addressed promptly before it causes corrosion. Utility apps like Speaker Cleaner: Water Eject play specific, loud, low-frequency sound waves around 165 Hz. This targeted frequency produces sustained cone vibration, generating air pressure that physically vibrates water and dust out of the speaker cavity.
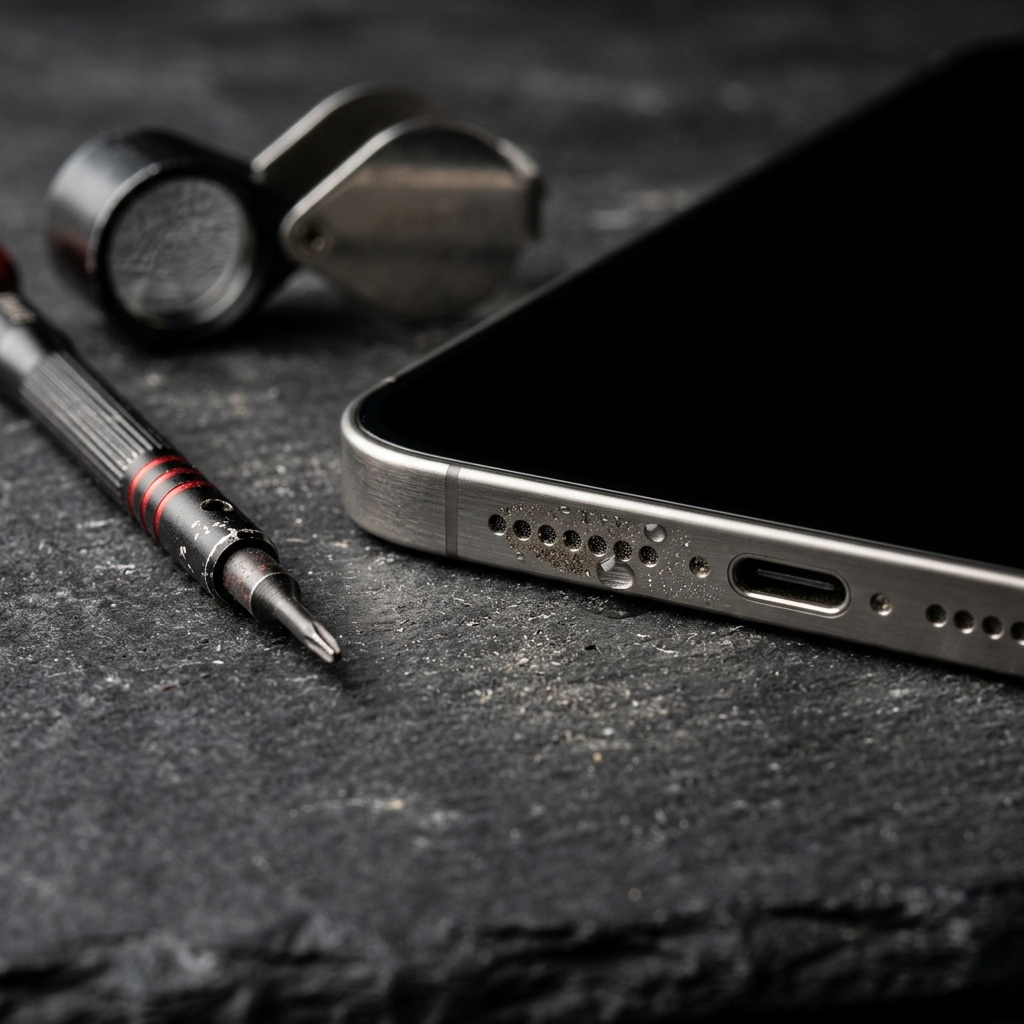
- Inspect the speaker openings under direct light for visible lint or dust.
- Use low-frequency sound waves to help dislodge trapped water from the speaker cavity.
- Do not insert needles, pins, or wire into the speaker grille, as sharp objects can puncture the delicate internal diaphragm.
- Avoid canned compressed air, which can drive moisture deeper into the chassis or damage internal seals.
Takeaway: Reduced volume caused by trapped moisture or clogged grilles is often reversible with careful cleaning and low-frequency vibration.
Phase 3: Acoustic Frequency and Diagnostic Testing
After clearing obstructions and verifying software settings, test the speaker across standard frequency ranges to assess its structural integrity. An intact speaker reproduces continuous sweeps without rattling, crackling, or abrupt dropouts.
Native Hardware Diagnostics
Some mobile operating systems provide built-in hardware diagnostic tools. On certain Android models, dialing specific test codes (such as *#0*#) opens component verification screens with dedicated speaker tests. On iOS devices, playing a clean voice memo recording at high volume provides a reliable baseline test.
The Sine Wave Sweep Test
Play a continuous frequency sweep from 100 Hz to 10,000 Hz at roughly 70 percent volume, listening for key acoustic indicators:
- Continuous rattle at low frequencies (100 Hz to 300 Hz): Indicates the voice coil has shifted or the surround adhesive has separated.
- Buzzing at specific mid-range tones: Points to a loose internal bracket, failed acoustic seal, or vibrating chassis component.
- Severe rasping across all frequencies: Suggests a deformed voice coil is rubbing against the magnet assembly.
- Complete absence of sound: Points to an open electrical circuit, broken coil wire, or disconnected contact trace.
Takeaway: Physical hardware failures produce specific acoustic cues, such as continuous coil scrape or complete silence during pure-tone playback.
Phase 4: Physical Drop Impact Versus Liquid Corrosion
Understanding how the issue began helps determine whether repair is necessary. Sudden impacts damage different components than liquid exposure.
A drop onto a hard surface can crack the speaker housing or detach the delicate lead wires connecting the terminal to the voice coil. If the speaker ceased functioning immediately after an impact, sound-based cleaning and software resets will not restore it.
Liquid exposure poses a gradual risk. While freshwater may only muffle sound until expelled, liquids containing salt, chlorine, or sugar leave corrosive residues. Over time, these mineral deposits can bind the voice coil or corrode solder joints, causing permanent failure.
Takeaway: Immediate failure after a fall indicates structural breakage, while liquid exposure requires prompt removal to prevent corrosion.
Diagnostic Checklist: Evaluating Permanent Damage
Use this sequential checklist to assess your speaker before seeking hardware repair:
- Step 1: Restart the phone and disconnect all Bluetooth audio accessories.
- Step 2: Test audio with headphones to verify that the internal audio processor functions normally.
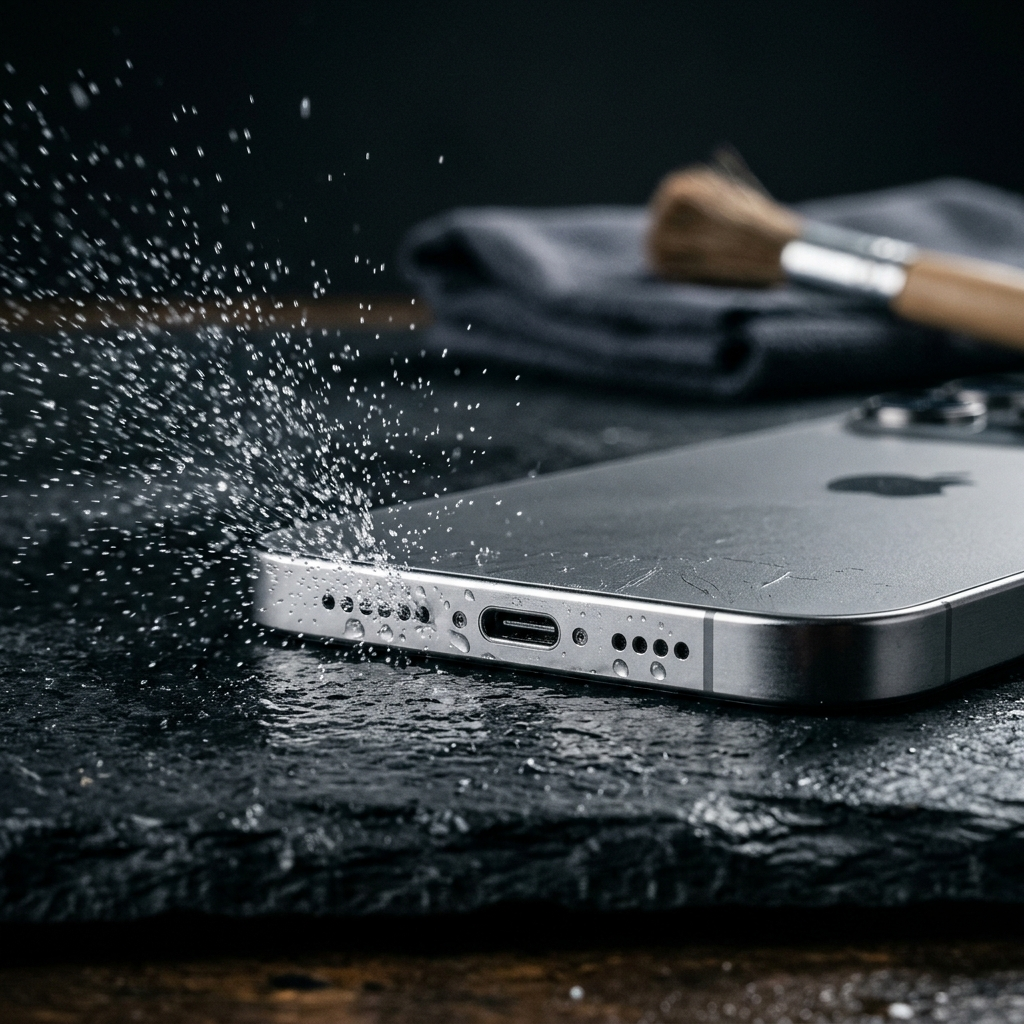
- Step 3: Examine the speaker grille and clear surface dust with a dry, soft-bristle brush.
- Step 4: Run Speaker Cleaner: Water Eject to emit 165 Hz acoustic vibrations to help dislodge trapped water or loose dust.
- Step 5: Play a pure-tone frequency sweep between 100 Hz and 5,000 Hz at moderate volume.
- Step 6: Evaluate playback. If the sound remains clear, the speaker is intact. If you hear continuous mechanical scraping, harsh buzzing, or no sound at all, the hardware has likely failed.
Conclusion: Next Steps for Damaged Hardware
A muffled or quiet smartphone speaker does not always mean permanent hardware damage. By checking software settings, expelling moisture with low-frequency sound, and running a frequency sweep, you can distinguish between temporary blockages and mechanical failure.
If your testing confirms severe voice-coil friction or complete loss of sound, the speaker assembly will require physical replacement. Contact your device manufacturer or an authorized repair service to install a replacement speaker and maintain proper enclosure seals.