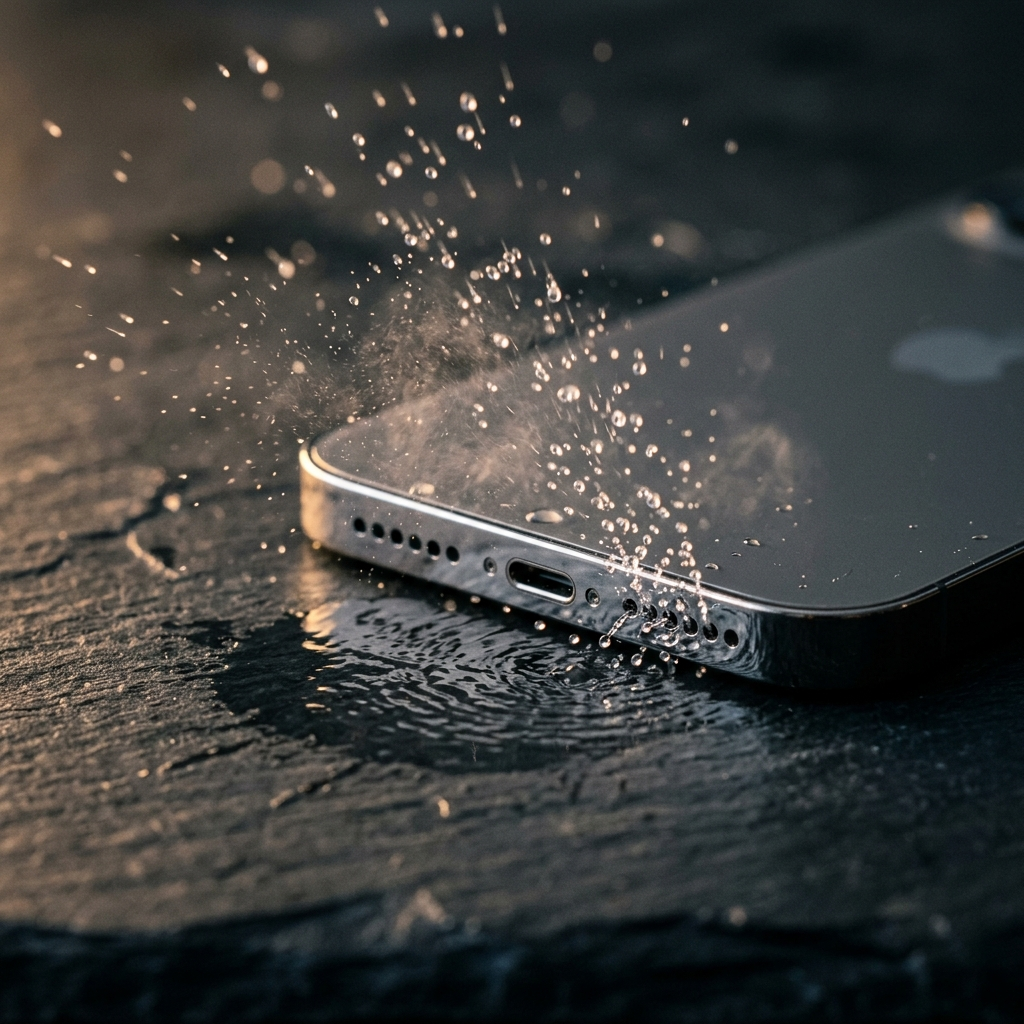
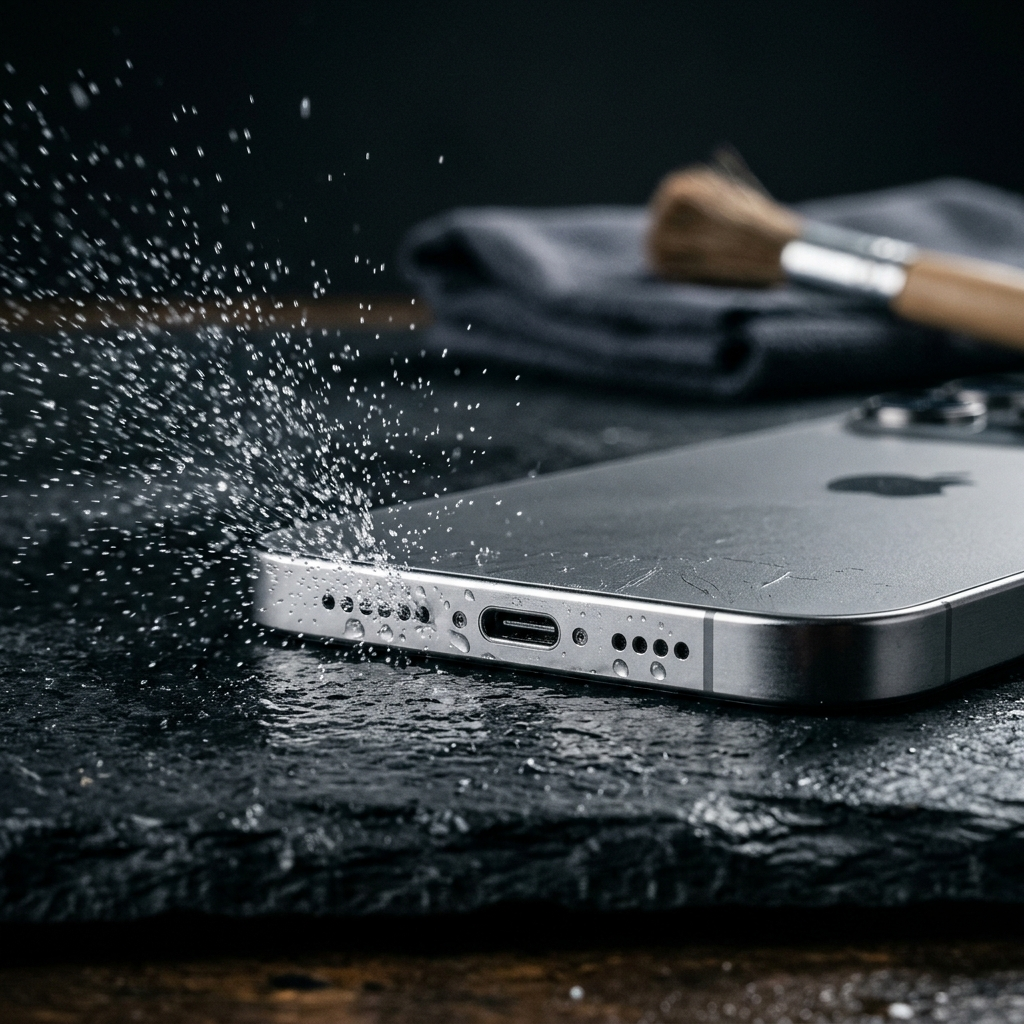
How to Safely Remove Water from a Phone Speaker: Technical and Practical Steps
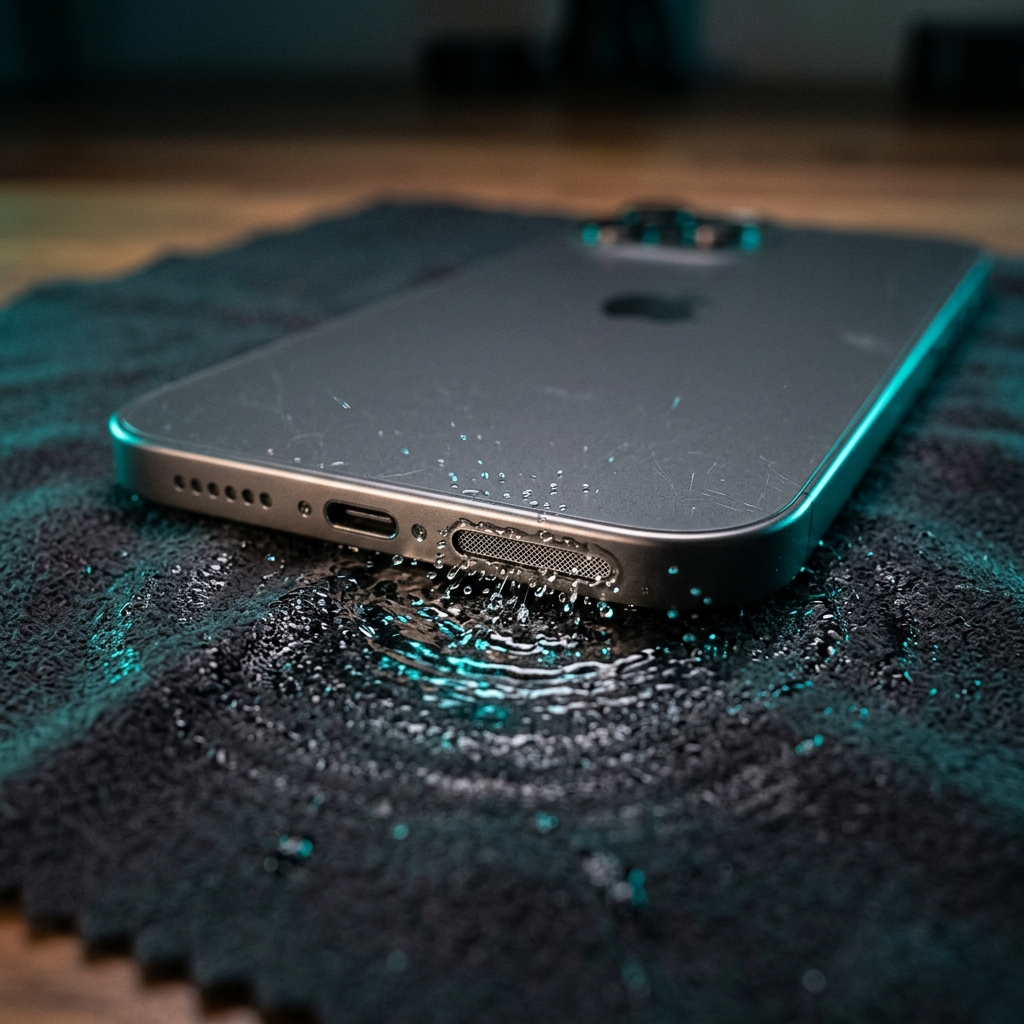
Removing water from a phone speaker quickly requires immediate power isolation, gravity placement, and low-frequency sonic ejection. Gravity and absorbent materials handle surface moisture, while targeted acoustic vibrations physically displace trapped water droplets inside the speaker chamber without opening the device.
Understanding the Vulnerability of Modern Phone Speakers
Modern smartphones rely on dynamic micro-transducers featuring tiny acoustic membranes, voice coils, and precise mesh dampeners. While modern flagship devices carry IP68 ratings for water resistance, this protection relies on hydrophobic mesh seals that prevent liquid entry under static pressure. Dynamic pressure changes, elevated water velocity, or wear over time can break this surface tension, allowing liquid into the speaker cavity.
When water enters the speaker mesh, surface tension pins droplets against the diaphragm. This added mass restricts membrane displacement, resulting in muffled sound, reduced volume, or temporary distortion. If unaddressed, mineral content in trapped water can accelerate corrosion on internal copper contacts or leave resistive deposits once dry.
Key Takeaway: Water resistance ratings prevent total immersion damage, but surface tension allows droplets to remain trapped in speaker mesh enclosures, impeding sound quality and presenting corrosion risks.
Immediate Actions to Take After Liquid Exposure
Executing immediate corrective steps minimizes internal liquid displacement before surface tension degrades further.
- Isolate power immediately: Turn off the device or avoid using the speaker circuit to prevent electrical shorting across micro-components.
- Perform manual surface drying: Wipe the exterior chassis with a static-free, lint-free microfiber cloth. Avoid inserting paper towels or cotton swabs into the speaker port, which can force droplets deeper into the housing.
- Position for gravity drainage: Place the smartphone vertically with the affected speaker grilles facing downward on a flat, absorbent surface.
- Remove peripheral covers: Remove protective phone cases that may trap moisture against the acoustic openings.
Key Takeaway: Rapid power isolation combined with proper downward orientation leverages gravity to start liquid removal while protecting internal circuitry.
What to Avoid: Methods That Cause Permanent Damage
Several common household remedies risk worsening internal damage or rupturing internal acoustic components.
- Do not apply external heat sources: Hair dryers or heat guns degrade thermal adhesive bonds and can warp fragile synthetic speaker diaphragms.
- Avoid compressed air canisters: High-pressure air blasts rupture thin hydrophobic mesh layers, pushing water past internal gaskets directly onto the logic board.
- Skip uncooked rice: Raw rice particles release fine starch dust into moist ports, creating a paste that clogs speaker grilles. Additionally, rice lacks the hygroscopic speed required to pull water out of sealed cavities.
- Do not shake the device violently: Forceful shaking breaks droplet surface tension, dispersing larger water pockets into smaller micro-droplets spread across interior circuitry.
Key Takeaway: High-pressure air, direct heat, and desiccant substitutes like raw rice regularly convert minor external moisture into permanent hardware damage.
Using Low-Frequency Sound Waves to Eject Trapped Water
Mechanical vibration offers a non-invasive method for removing moisture trapped behind fine speaker mesh. Standard acoustic waves displace surrounding air molecules; low-frequency audio tones induce high-amplitude physical oscillations in the speaker diaphragm itself.
Acoustic ejection relies on specific frequency selection. Frequencies between 150 Hz and 170 Hz generate ideal physical excursion for standard mobile micro-transducers. At these frequencies, the diaphragm moves at high amplitude, generating sufficient mechanical energy to overcome the surface tension bonding water droplets to the speaker mesh.
- Position the phone face down or tilted forward so ejected droplets fall away from the chassis.
- Set the speaker volume to maximum to achieve peak diaphragm excursion.
- Play continuous low-frequency tones in short bursts of 30 to 60 seconds until audio clarity returns.
Key Takeaway: Low-frequency sound waves mechanically shake trapped droplets loose from the speaker mesh without requiring physical contact or disassembly.
Passive Drying and Humidity Management
Once active sonic displacement removes bulk liquid droplets, residual micro-moisture within the port requires controlled evaporation through desiccants.
Place the phone inside a sealed container with active silica gel packets for 12 to 24 hours. Synthetic silica gel lowers relative humidity inside the container, drawing vapor molecules out through the speaker grilles without leaving dust or chemical residue behind.
Ensure the drying environment remains at ambient room temperature (65°F to 72°F) with moderate airflow. Avoid placing sealed containers in direct sunlight or near heat sources, which can create localized condensation cycles inside camera modules and display layers.
Key Takeaway: Silica gel desiccants safely eliminate residual moisture vapor at room temperature without exposing the phone to thermal stress or particle contamination.
Evaluating and Verifying Speaker Functionality
After completing mechanical and passive drying steps, systematically evaluate your audio output to ensure complete liquid removal.
- Play a broad-spectrum audio file containing both clear high vocal tones and deep bass frequencies.
- Listen closely for crackling, persistent muffling, or sudden volume drops at higher output levels.
- Check secondary micro-transducers, such as the top earpiece speaker, which frequently trap smaller water volumes during full immersion.
If audio distortion persists after 24 hours of drying, mineral deposits may have dried on the speaker cone, or fluid may have penetrated past the acoustic chamber. Professional hardware diagnostics or transducer replacement may be required.
Key Takeaway: Thorough audio testing across dynamic frequency ranges confirms whether moisture has been completely cleared or if underlying hardware service is necessary.
Conclusion
Restoring clear audio after water exposure depends on acting quickly and avoiding damaging heat or high-pressure air. By isolating power, positioning the device for gravity drainage, and using controlled mechanical displacement, you can safely clear moisture from sensitive micro-transducers. For a streamlined acoustic cleaning process, specialized tools like the Speaker Cleaner app play targeted 165 Hz low-frequency sound waves designed to physically vibrate water and dust out of your phone's speaker port within seconds.
Frequently Asked Questions
Water itself temporarily distorts sound by weighing down the speaker diaphragm. However, if left unchecked or if power remains active, mineral content can cause long-term corrosion on internal electrical contacts.
Low-frequency sound waves around 165 Hz force the speaker diaphragm to move at maximum physical amplitude. This mechanical vibration overcomes the surface tension holding water droplets against the mesh, forcing the liquid out.
No. Raw rice absorbs water too slowly and releases fine starch dust into open ports, forming a residue that clogs speaker grilles. Silica gel packets are a far safer and more effective alternative.