How to Diagnose and Treat Plant Diseases: A Practical Guide for Gardeners
Accurate plant disease diagnosis requires isolating visual symptoms across leaves, stems, and root zones before matching them against pathogens, pests, or cultural stress. Once the causal agent is determined, effective control combines targeted physical sanitation, cultural adjustments, and appropriate biological or chemical controls. Systematic inspection and early intervention prevent localized damage from destroying entire plant collections.
The Diagnostic Dilemma in Home Plant Care
Gardening and indoor plant cultivation frequently present complex visual symptoms that mislead even experienced growers. A yellowing leaf can signify fungal infection, spider mite feeding, nitrogen deficiency, or root rot caused by saturated potting media. Treating a fungal problem with excess fertilizer often accelerates tissue decline, while treating an overwatered specimen with chemical fungicides fails to resolve root suffocation.
Misdiagnosis wastes time, increases plant mortality, and leads to inappropriate chemical use in residential environments. Understanding how to systematically read plant pathology indicators allows home gardeners to intervene with precision, restoring plant vigor while preserving soil ecology and indoor air quality.
Phase 1: Systematic Visual Triage
Diagnostic success depends on methodical inspection rather than rapid guesswork. When examining an ailing plant, work systematically from top growth down to the root crown.
1. Foliar Pattern Analysis
Leaves display the clearest initial indicators of distress, but the pattern of damage dictates the underlying cause:
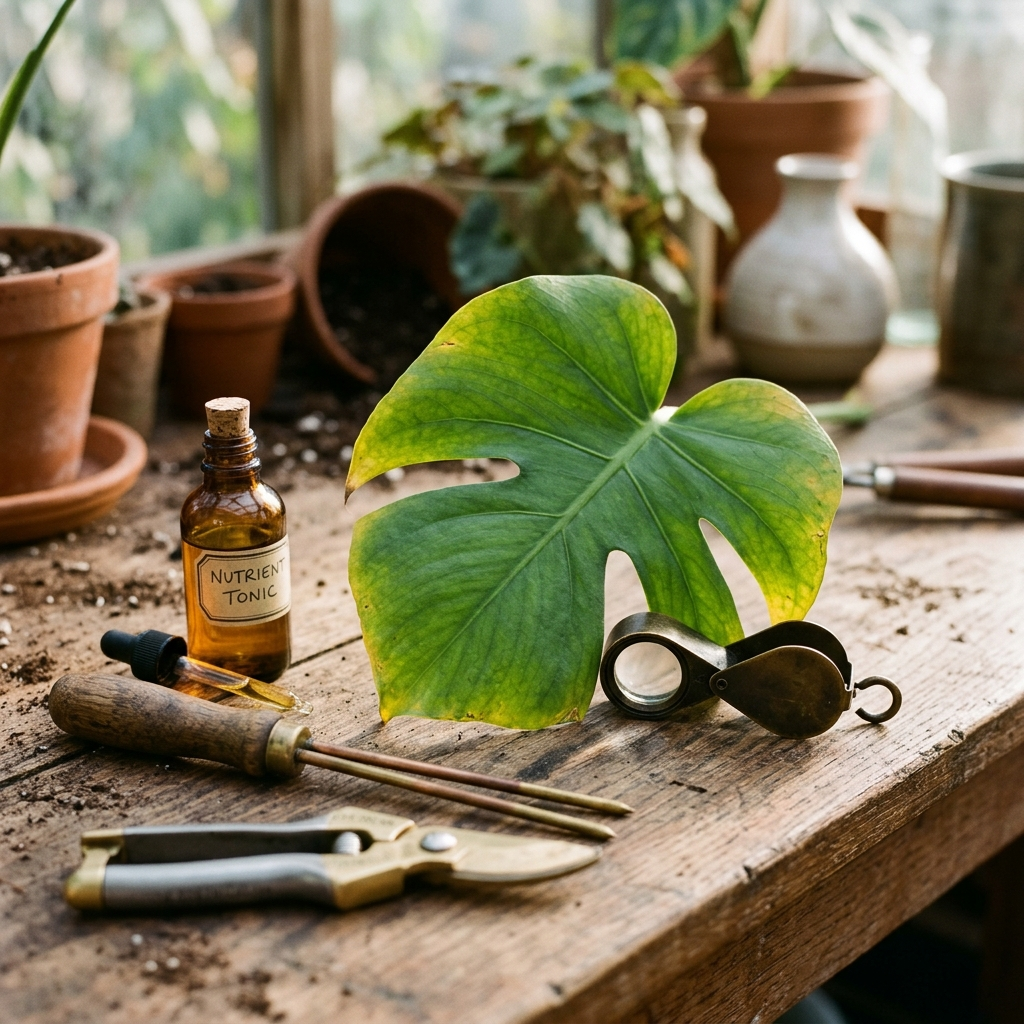
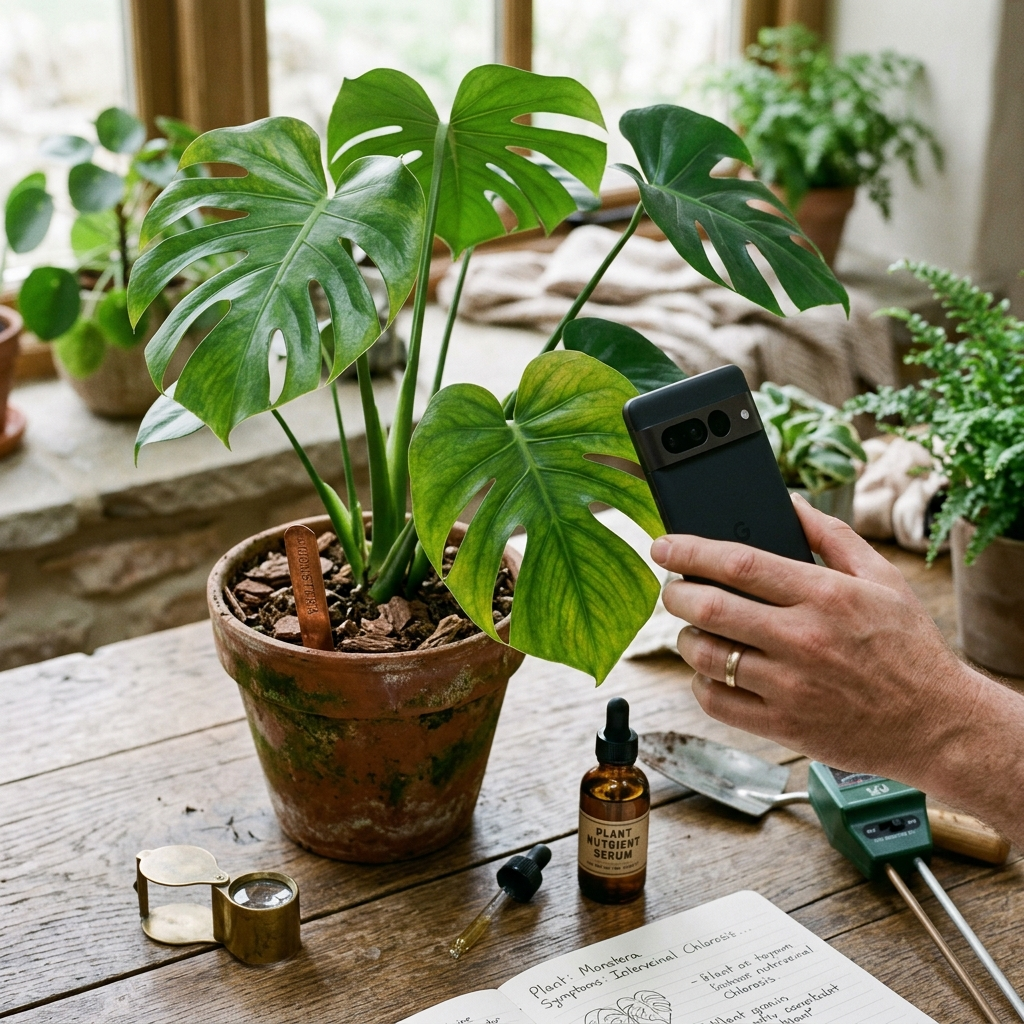
- Chlorosis (Yellowing): Uniform yellowing across older foliage typically indicates mobile nutrient deficits, such as nitrogen. Interveinal chlorosis, where leaf veins remain dark green while surrounding tissue fades, points toward iron or magnesium deficiencies or soil pH lockup.
- Necrotic Spotting: Concentric brown or black rings with yellow halos frequently indicate fungal pathogens like Alternaria or Septoria. Angular spots restricted by leaf veins often indicate bacterial blights.
- Surface Coatings: White, talcum-like residue suggests powdery mildew, whereas black, soot-like film indicates sooty mold growing on honeydew excreted by sap-sucking pests.
2. Stem and Crown Inspection
Examine the junction where the stem meets the soil line. Soft, darkened, or water-soaked tissue points toward crown rot or damping-off pathogens. Sunken lesions or cankers along woody stems indicate vascular fungal infections that disrupt water transport.
3. Root System Examination
When aerial symptoms remain inconclusive, gently remove the plant from its container or inspect peripheral roots. Healthy roots are firm, flexible, and white to light tan. Decayed roots appear brown to black, feel mushy, and often pull away easily from the central vascular core, emitting a sour or musty odor.
Phase 2: Distinguishing Pathogens, Pests, and Abiotic Stress
Accurate intervention requires distinguishing between biotic organisms and cultural disorders.
Fungal and Bacterial Pathogens
Fungal spores require moisture and stagnant air to germinate. They commonly cause leaf spots, rusts, vascular wilts, and blights. Bacterial pathogens enter primarily through natural openings (stomata) or mechanical wounds, often causing rapidly expanding water-soaked lesions or systemic vascular collapse.
Insect and Mite Damage
Sap-sucking pests like spider mites, thrips, aphids, and scale insects cause stippling (tiny pale dots), distorted new foliage, and sticky honeydew. Look closely at leaf undersides and stem nodes, using magnification if necessary, to locate moving pests or protective scale covers before assuming an infectious disease.
Abiotic and Environmental Stress
Abiotic disorders are non-infectious conditions caused by environmental imbalances. Common culprits include:
- Irrigation Extremes: Overwatering suffocates root hairs, mimicking drought stress by inducing wilting despite wet soil.
- Lighting Discrepancies: Insufficient light causes weak, leggy growth and reduced pathogen resistance, while sudden intense light causes localized foliar bleaching.
- Temperature Fluctuations: Drafts from cooling vents or heating radiators cause localized leaf drop, edge necrosis, and bud abortion.
Phase 3: Leveraging Image Diagnostics with Plant Doctor
Visual cross-referencing against plant pathology references can be challenging when multiple stressors coincide. The Plant Doctor app provides an AI-powered diagnostic companion that evaluates plant images directly on your mobile device. By submitting a clear photograph of affected foliage or stems, gardeners receive an instant assessment identifying the plant species, probable disease, pest infestation, nutrient shortfall, or environmental stress condition.
To ensure high diagnostic accuracy when using Plant Doctor, follow these practical photo tips:
- Isolate the Problem Area: Capture a clear, close-up photograph of the boundary between diseased and healthy tissue. The transition zone provides the most characteristic diagnostic markers.
- Ensure Proper Lighting: Use bright, indirect natural light. Avoid harsh direct sunlight or camera flashes, which create reflective glare and obscure subtle color gradations.
- Keep the Subject in Focus: Stabilize your phone to eliminate motion blur. Ensure leaf veins, fungal pustules, or pest groupings remain sharply defined.
- Include Whole-Plant Context: If possible, review overall plant structure alongside localized symptoms to assess overall vitality.
Plant Doctor provides home gardeners with a daily free diagnosis allowance, as well as clear, step-by-step treatment and prevention instructions. For enthusiasts managing large plant collections or community green spaces, a PRO upgrade is available to remove advertising and provide unlimited diagnoses across ten languages with complete right-to-left (RTL) interface support.
Phase 4: Evidence-Based Treatment and Remediation Protocols
Once the diagnosis is established, apply targeted interventions using Integrated Pest Management (IPM) principles:
1. Cultural Sanitation
Immediately prune severely infected leaves using sharp shears disinfected with 70 percent isopropyl alcohol between cuts. Dispose of diseased plant tissue in household waste rather than compost piles, where pathogens can survive and reinfect future plantings.
2. Environmental Optimization
Adjust environmental factors that favor disease development. Increase air circulation around the canopy using small fans, reduce indoor ambient humidity if foliar fungi are present, and bottom-water or water the soil directly to keep foliage dry.
3. Targeted Treatment Applications
Select the least toxic effective control for the confirmed issue:
- Fungal Infections: Apply horticultural copper soap, sulfur-based sprays, or biofungicides containing beneficial bacteria such as Bacillus subtilis.
- Soft-Bodied Pests: Use insecticidal soap or cold-pressed neem oil solutions, ensuring thorough coverage of both leaf surfaces.
- Root Rot: Trim away decayed root material, repot into a porous, well-draining potting mix, and adjust irrigation schedules to allow appropriate drying intervals.
Preventive Maintenance Checklist for Long-Term Plant Health
Maintaining plant vitality reduces susceptibility to opportunistic pathogens and pest colonies. Implement this operational checklist across your indoor and outdoor plant collections:
- Quarantine New Acquisitions: Isolate new plants for 14 days before introducing them to established displays to monitor for dormant pests or latent fungal spores.
- Inspect Weekly: Check leaf undersides and soil lines during routine watering routines to catch symptoms before widespread spread occurs.
- Sanitize Tools Regularly: Disinfect pruning shears, trowels, and stakes before and after working on individual plants.
- Match Container and Substrate: Ensure every pot contains adequate drainage holes and use potting media tailored to the specific moisture retention needs of the plant genus.
- Fertilize Seasonally: Avoid high-nitrogen fertilizers during periods of low light or slow vegetative growth, as excessive succulent tissue attracts sucking pests and fungi.
Restoring Health Through Early Intervention
Diagnosing plant disease requires careful observation, systematic elimination of environmental causes, and targeted biological or cultural treatment. By catching symptoms early and utilizing intelligent diagnostic tools like Plant Doctor to confirm conditions, home gardeners can protect their investments, refine their cultivation skills, and maintain resilient plants throughout the growing season.
Frequently Asked Questions
Overwatering causes widespread lower leaf yellowing, soft stems, and limp foliage despite moist soil. Infectious plant diseases typically start as localized necrotic spots, concentric rings, or powdered residues on specific leaves before spreading.
Plant Doctor uses trained visual recognition models to analyze leaf morphology, discoloration patterns, lesions, and pest signs captured in your photo, instantly cross-referencing them against known diseases, deficiencies, and environmental stresses.
Capture clear, in-focus close-ups showing the transition between healthy and damaged tissue. Use bright, indirect natural lighting to eliminate glare and ensure colors remain accurate without flash.
Yes, provided the issue is detected before structural vascular collapse or total root rot occurs. Pruning damaged foliage, correcting watering practices, improving air circulation, and applying targeted organic treatments allow plants to regenerate healthy foliage.